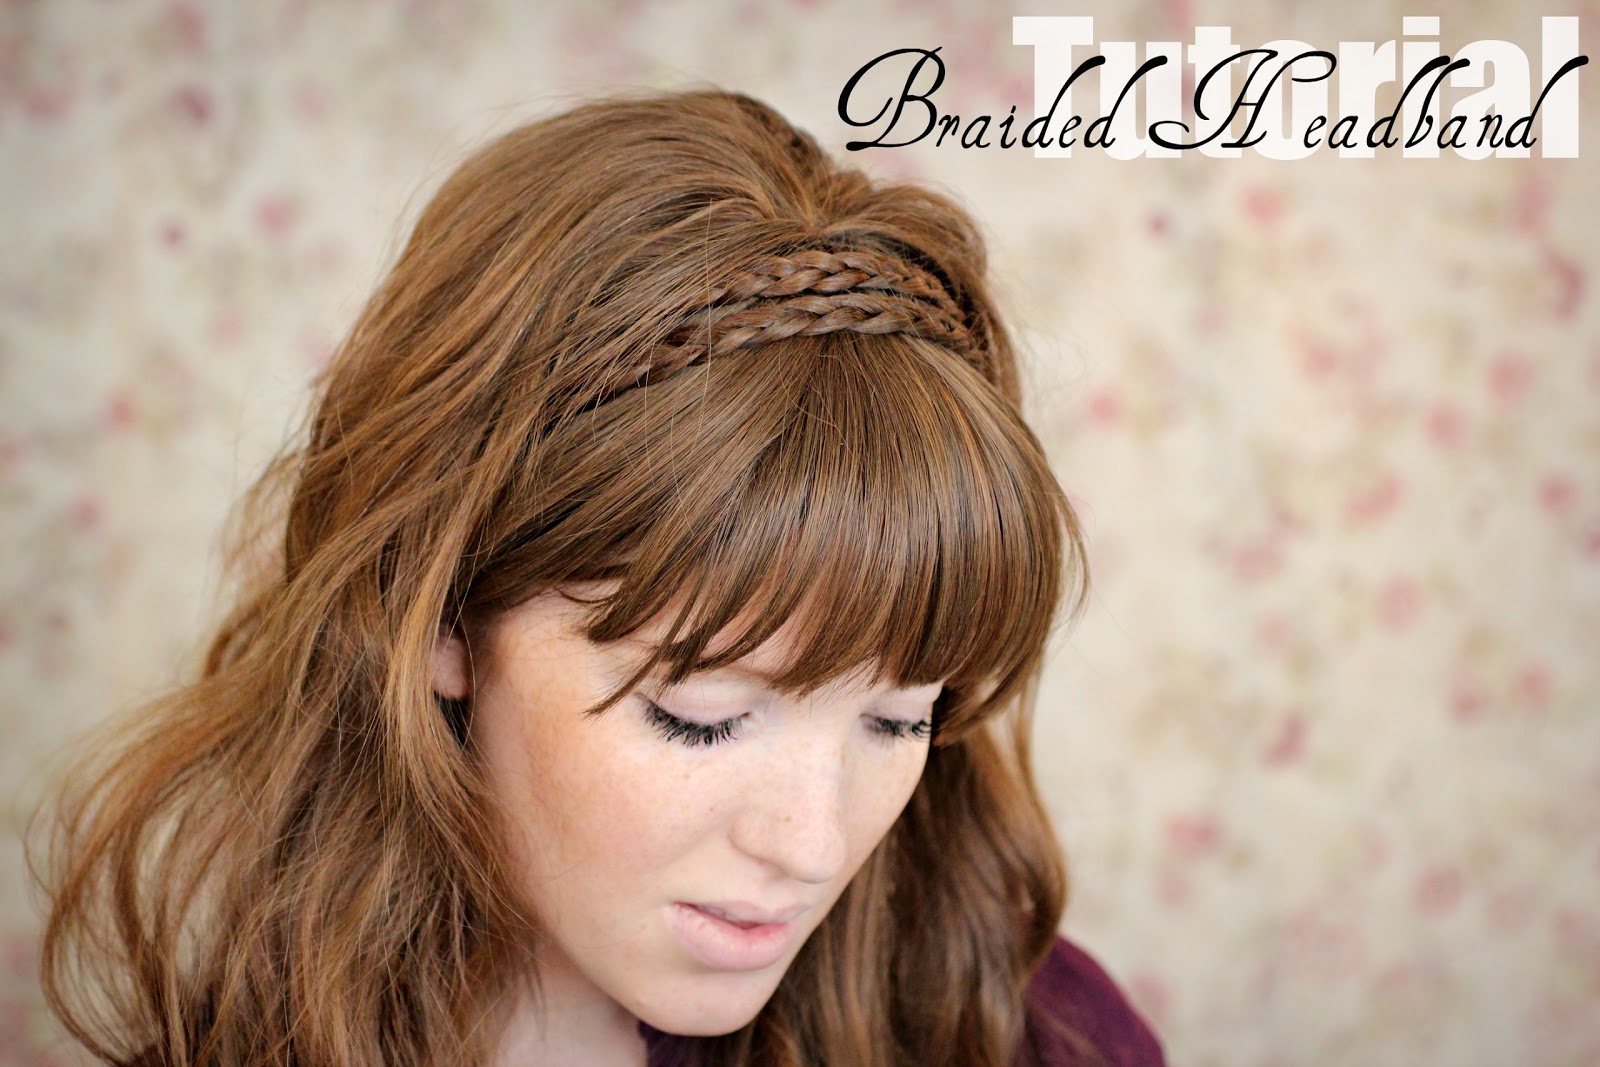
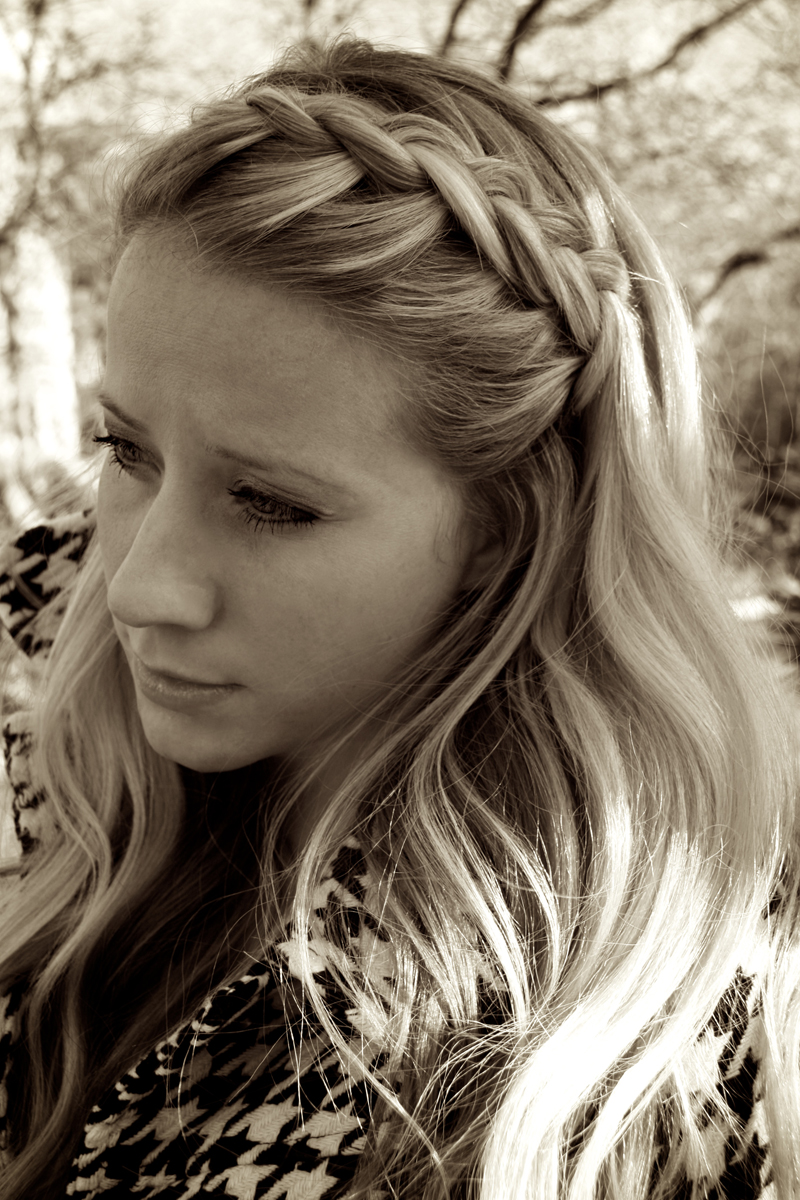
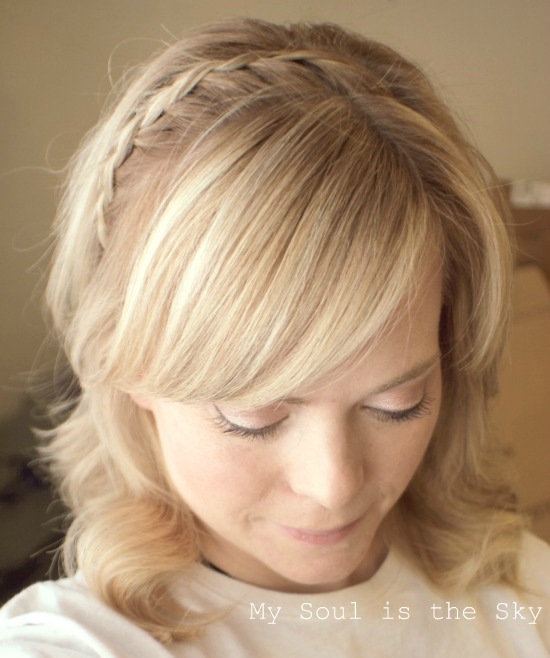
Dutch Braided Headband
A headband braid is such a cute way to add a little something-something to your favorite waves. The typical headband braid can be tricky to do, starting the braid upside down on one side and working it over to the opposite side – cue todays tutorial. This stye keeps a partline in the hair so you can work on each side of the braid separately! I think this version is sooo much easier to do plus it looks super cute! Definitely a new favorite and how I’ll be styling my hair through Spring and Summer! Have you already tried and loved this style? Let me know in the comments below! Here’s some other headband braid styles you might love! Dutch Braided Headband Supplies: Rattail comb 4 Bobby pins Clear elastic band Hair clip 1 1/4″ Curling iron Medium-hold hairspray Dutch Braided Headband Instructions: Step 1 / Begin by parting the hair in the center or slightly off center. Step 2 / Pick up a small section on the left side of the part and divide it into three smaller sections. Step 3 / For the dutch braid, first cross the right strand under the middle and then cross the left strand under the middle. Step 4 / Now cross the right strand under the middle, pick up a new section close to the braid and cross it under and into the middle strand. Step 5 / Then cross the left strand under the middle and add a new section into the braid. Step 6 / Continue crossing the side strands under the middle strand, while bringing new sections into the braid, keeping the braid as close to the hair line as possible, braiding straight down towards the left ear. Step 7 / Once the braid reaches the top of the ear, stop adding in new sections and just continue the braid a little further down before crossing two bobby pins over the bottom so it doesn’t unravel. Step 8 / Now create a second braid on the right side of the head by picking up a section near the part line and dividing it into three smaller sections. Step 9 / Cross the side strands under the middle strand while adding new sections into the braid, keeping it as close to the hair line as possible and working down towards the right ear. Step 10 / Now stop adding in new sections and just braid the hair a little further down and then cross two bobby pins over the bottom. Step 11 / Next divide the hair at the top of the ears and clip up the top half. Step 12 / Bring both braids together at the back of the head, tie them together with a clear elastic band, and remove the bobby pins. Step 13 / Let down the hair that was clipped up and this will help hide the ends of the braids. Step 14 / Set the style with hairspray and curl the rest of the hair with a 1 1/4″ curling iron.

Dutch Braided Headband

Hair Accessories - Accessories

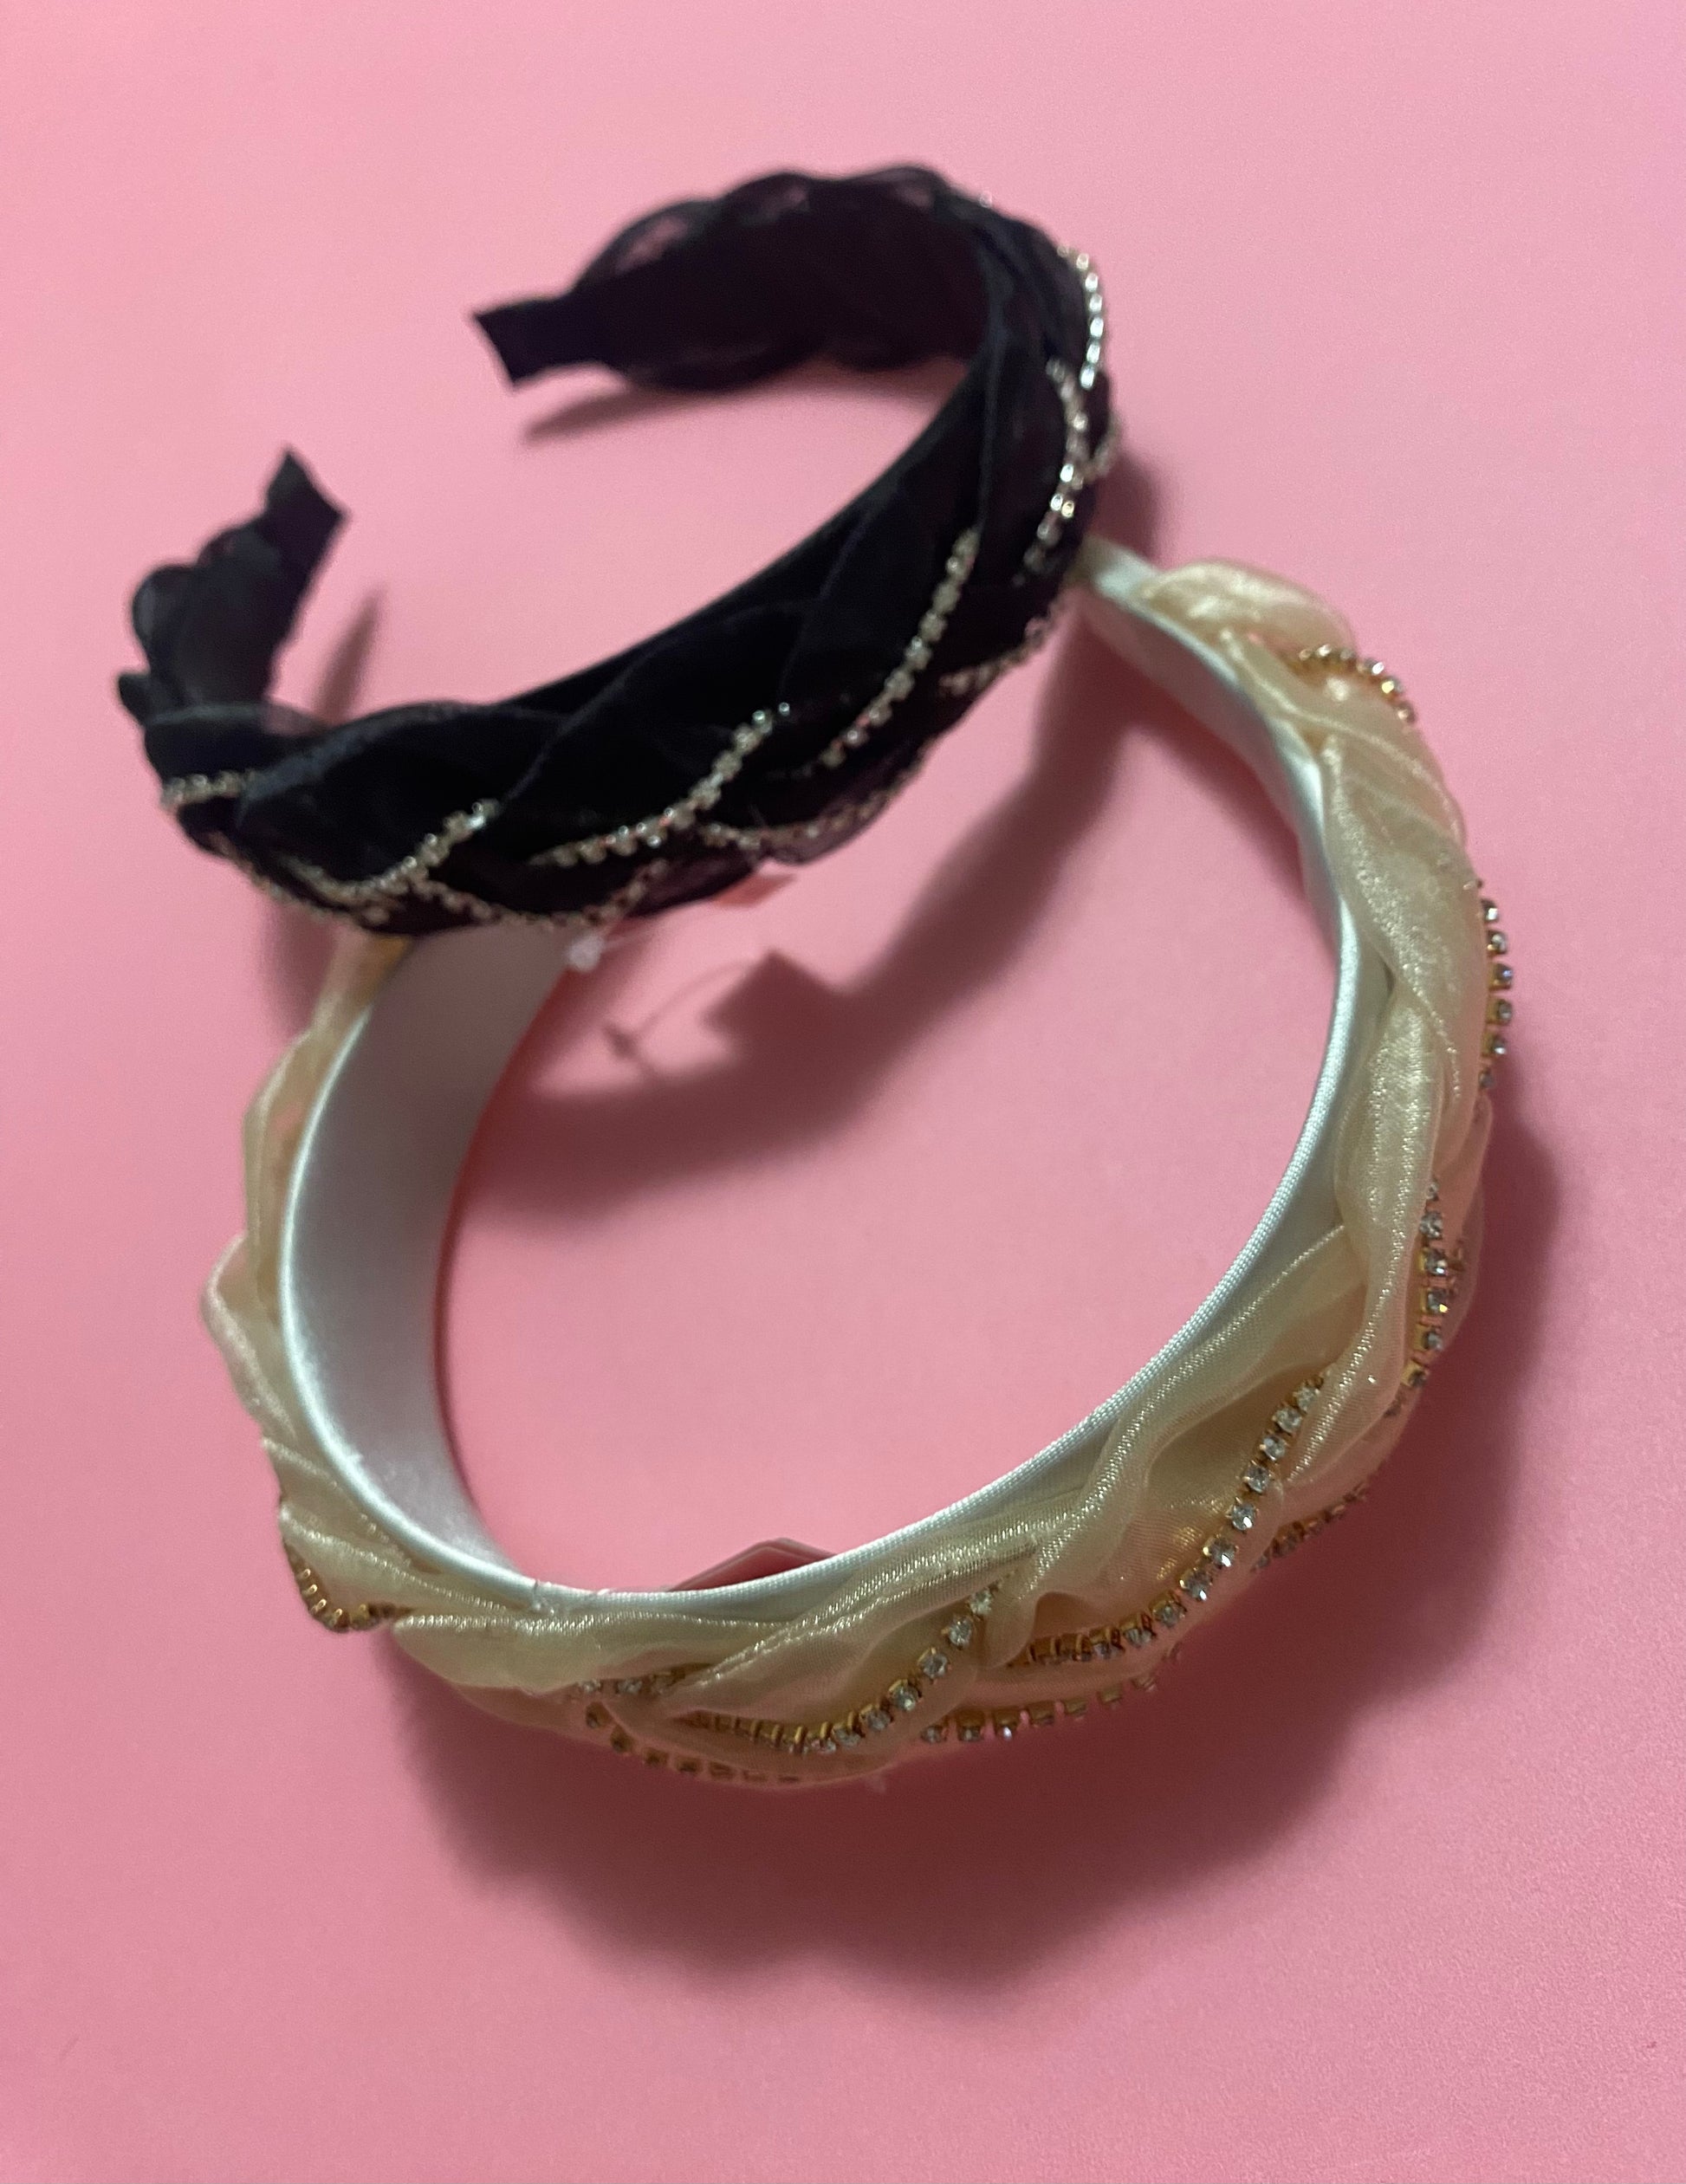
Brooklyn braided velvet headband stylish chunky hairband –
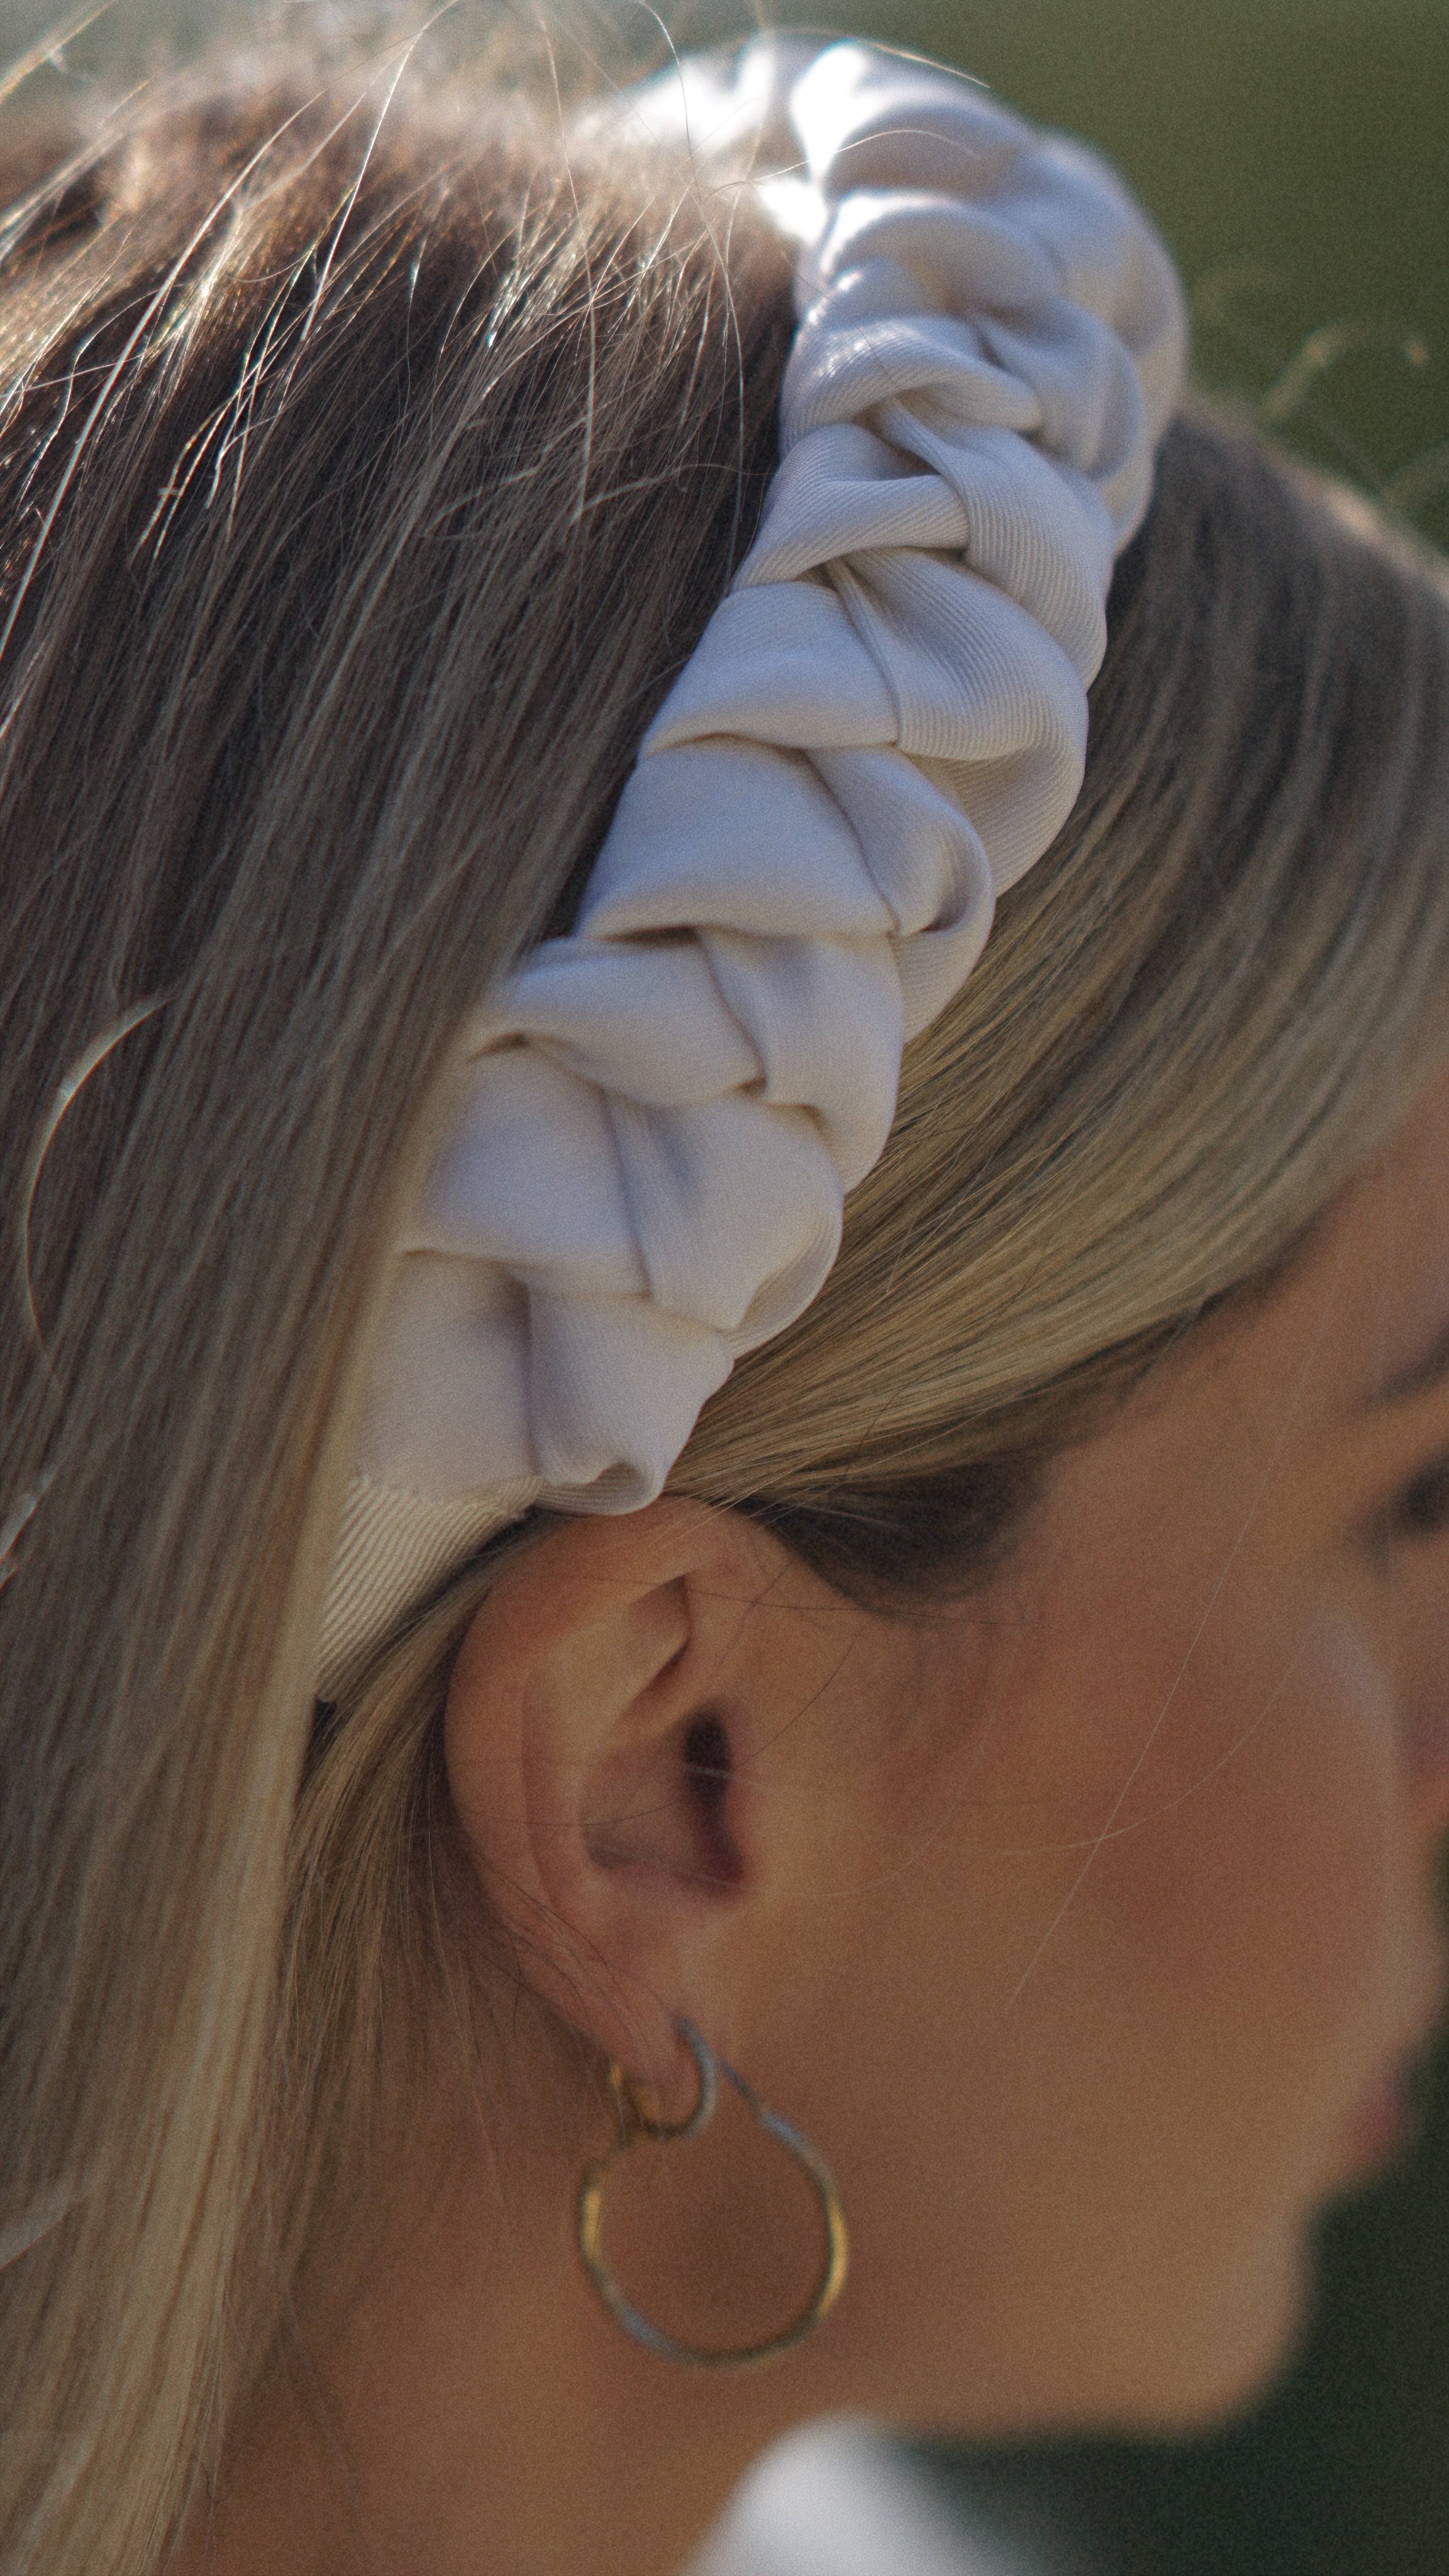
Florence Braided Headband – After Iris
Dutch Braided Headband - Twist Me Pretty

dutch braided headband pony✨👏#hair #hairstyle #hairtutorial

comedian: @tiffanyhaddish 🎥 (also featuring Mona 🐾 @lanicolemaria)
Just Let Loose Wide Braided Headband – Uptown Boutique Ramona

Chikas Chic - Dutch Braided Headband - Best hairstyles tutorials for all ages. Stunning and easy French Braids, Fishtail Braids, Waterfall Braids, plaits, twists and updos

Dutch Braided Headband with a Ribbon, MISSY SUE

Hairstyles – Capturing Aesthetics

Dutch Braided Headband

RPZL Fully Adjustable Braided Headband- Silver Feline (Grey Hair) 2 Strand Hair Braid Headband- Color Match w/Highlights or Roots - Classic Synthetic Braided Headbands for Women : Beauty & Personal Care

Lace Headband Braid Lace headband braid, Braided headband hairstyle, Headband hairstyles
Dutch Braided Headband